Introduction
For this task, we had to practice using a camera and its equipment such as Steadicam, Tracking Dolly, Tripod, Slider and Shoulder Rig in preparation for the making of the trailer. Using previous knowledge, we are required to evidence original footage of different types of angles and shots which will eventually be used in our trailer.
Inspirations
Friday the 13th |
A Nightmare on elm street |
|
|
|
|
Establishing Shot: Used to set the location of the film which gives a feel of the film. This will be used in our trailer.
Low Angle Shot: Used to give the antagonist more dominance and power in the scene creating fear as they are seen as higher up. Hand-Held: Gives the sense of realism to the scene as if the audience is running away from the antagonist. Tracking: Creates tension in the scene as it is usually following a victim running. This a common stock situation used in the horror genre. Close Up: These are used a lot to show the NVC of the protagonists/characters usually terror, shock and fear adding a lot of impact to the trailer. Extreme Long Shot: Shows the characters running from the antagonist creating a sense of imbalance. You can see the background intensifying the horrific atmosphere as there is a setting of darkness enhancing a sense of abandonment. |
Establishing Shot: Setting the scene of the trailer in an abandoned block of buildings adding mystery to the trailer.
High Angle Shot: Looking down on the character making it feel like they are inferior and weak. Extreme Long Shot: Used to show the antagonist but vaguely, again creating mystery and instilling fear into the audience as we can't fully see what they look like. Tracking (Dollying): Used to show characters running from a subject creating a sense of realism. This creates a fast paced atmosphere for the audience. Birds Eye View: Used to show a character who is unconscious and unable to receive help creating tension and a thrilling sensation. Close Up: Mainly used to show the NVC of the characters in the trailer, but also used to reveal the weapon of the antagonist. This creates fear and uneasiness within the audience. |
Lights outLong Shot: Used to show the setting of the scene to add effect. For example showing a woman walking through a dark corridor adding a sense of mystery.
Close Up: Used to show the NVC of the protagonists and stock characters to create certain feelings of fear and shock. Tracking Shot: Used to show characters in stock situations such as getting chased/running to emphasise the terror in the scene. Steadicam: Used to follow characters showing their motion and posture which is usually conveys the emotions they are feeling. Useful to show terror. Low Angle: Used to show inferiority of the characters usually the protagonist. This creates a sense of fear within the audience. |
Don't BreatheExtreme Close Up: This trailer uses a lot of extreme close up to show the emotions of the characters through their facial NVC and body language.
Low Angle: Used to portray the protagonist as inferior to the antagonist which is presented well in this trailer. Worms Eye View: Used to give a view from the ground showing important information through a close up shot for more impact. High Angle: This can also be used to make the subject seem more vulnerable which is the case here for this trailer portraying fear and unease. Mid Shot Framing: This shot depicts a tight space usually a corridor which gives a feeling of confinement and entrapment. |
House at the end of the streetExtreme Long Shot: Used to put the character in the distance focusing on the settings of the scene. For this shot the location was a dark road creating anticipation for the audience and an eerie sensation.
Point Of View: Used to show what the character in the trailer is seeing creating tension and fear for the audience as if they were actually in the film. Worms Eye View: Creates mystery through the camera angle as we can only see the subjects feet and sometimes props which creates fear in the audience. Birds Eye View: Gives a different perspective of a shot if it were different giving more information to the viewers. It could also give the sense of insecurity as you can see all aspects of the scene in the shot. Close Up: Shows the NVC of the characters creating imbalance and terror within the audience. The trailer is also linear meaning its in chronological order which is a good template for my trailer as it is also linear. |
Silent Hill RevelationClose Up: Reveals the NVC of the main characters and stock characters which portrays terror and fear.
Over The Shoulder: Used to shoot a conversation between two people. This could also reveal emotions of characters as you can mainly see their face. Extreme Long Shot: Used to show a lot of scenery which usually involves stock situations like a chase or corridor. This builds tension and anticipation creating panic within the audience. Tilting Shot: This shot was used to present the disequilibrium in the trailer going from a high angle tilting down to a low angle shot. This could represent the mood of the scene going from good to evil disturbing the balance of the scene. Tracking: Usually used to show a characters movement. In this trailer, it is used to show the antagonist walking towards the camera creating suspense and dread. |
Camera specs
Here, I will be talking about the camera that we will be using to film our trailer and its specifications. ISO, Shutter Speed and Aperture all work together to create the perfect image with the desired lighting, minimum noise and a great depth of field.

canon 7d and canon 600d
Canon EOS 600D Specs:
|
These are the cameras that we used to film our trailer. The Canon 7D was used to film the trailer as it was a more professional and better quality camera and the Canon 600D was used to video log our filming process and also take pictures. These cameras have various features and functions which all help it to create the best possible imagery when filming.
Canon EOS 7D Specs:

|
isoISO is the level of sensitivity of your camera to available light. It then gathers this light and transforms it into an image. ISO is responsible for the 'grain' or 'noise' of an image. The higher the ISO, the greater the sensitivity to light meaning it can be used in low-light environments with the expense of adding noise to the image. Lower ISO usually will give higher quality images in a bright environment than a high ISO.

|
shutter speed
Shutter speed is the nominal time for which a shutter is open at a given setting. It is also known as exposure. This refers to the amount of time the camera sensor is exposed to light. A fast shutter speed can be used to show a moving object at a frozen action in time to get a clear image. Slow shutter speed creates the effect of blur which creates a sense of motion.
|
aperture Aperture is responsible for the blurring of the background in an image or bringing it into focus. Aperture is a topic which is talked about a lot as it can really show whether a image is good or bad. Aperture is expressed in f-numbers, the smaller the f-numbers, the higher the aperture. Aperture is responsible for giving a great depth of field which is a common aspect of a great image. Depth of field is the distance between the nearest and furthest objects giving a focused image. To obtain a picture with a good depth of field, you will have to play around with the aperture setting which could lead to effects suck as bokeh.

|
Camera equipment
In the production stage of our trailer, we needed to use various camera equipment to get the optimal shots and scenes for the trailer which are shown below.
Tripod |
Shoulder Rig |

The tripod was mainly used for camera angles and shots as it provides strong stability keeping the camera shot still and not moving. This helped us to film more professional looking scenes for the trailer.
|
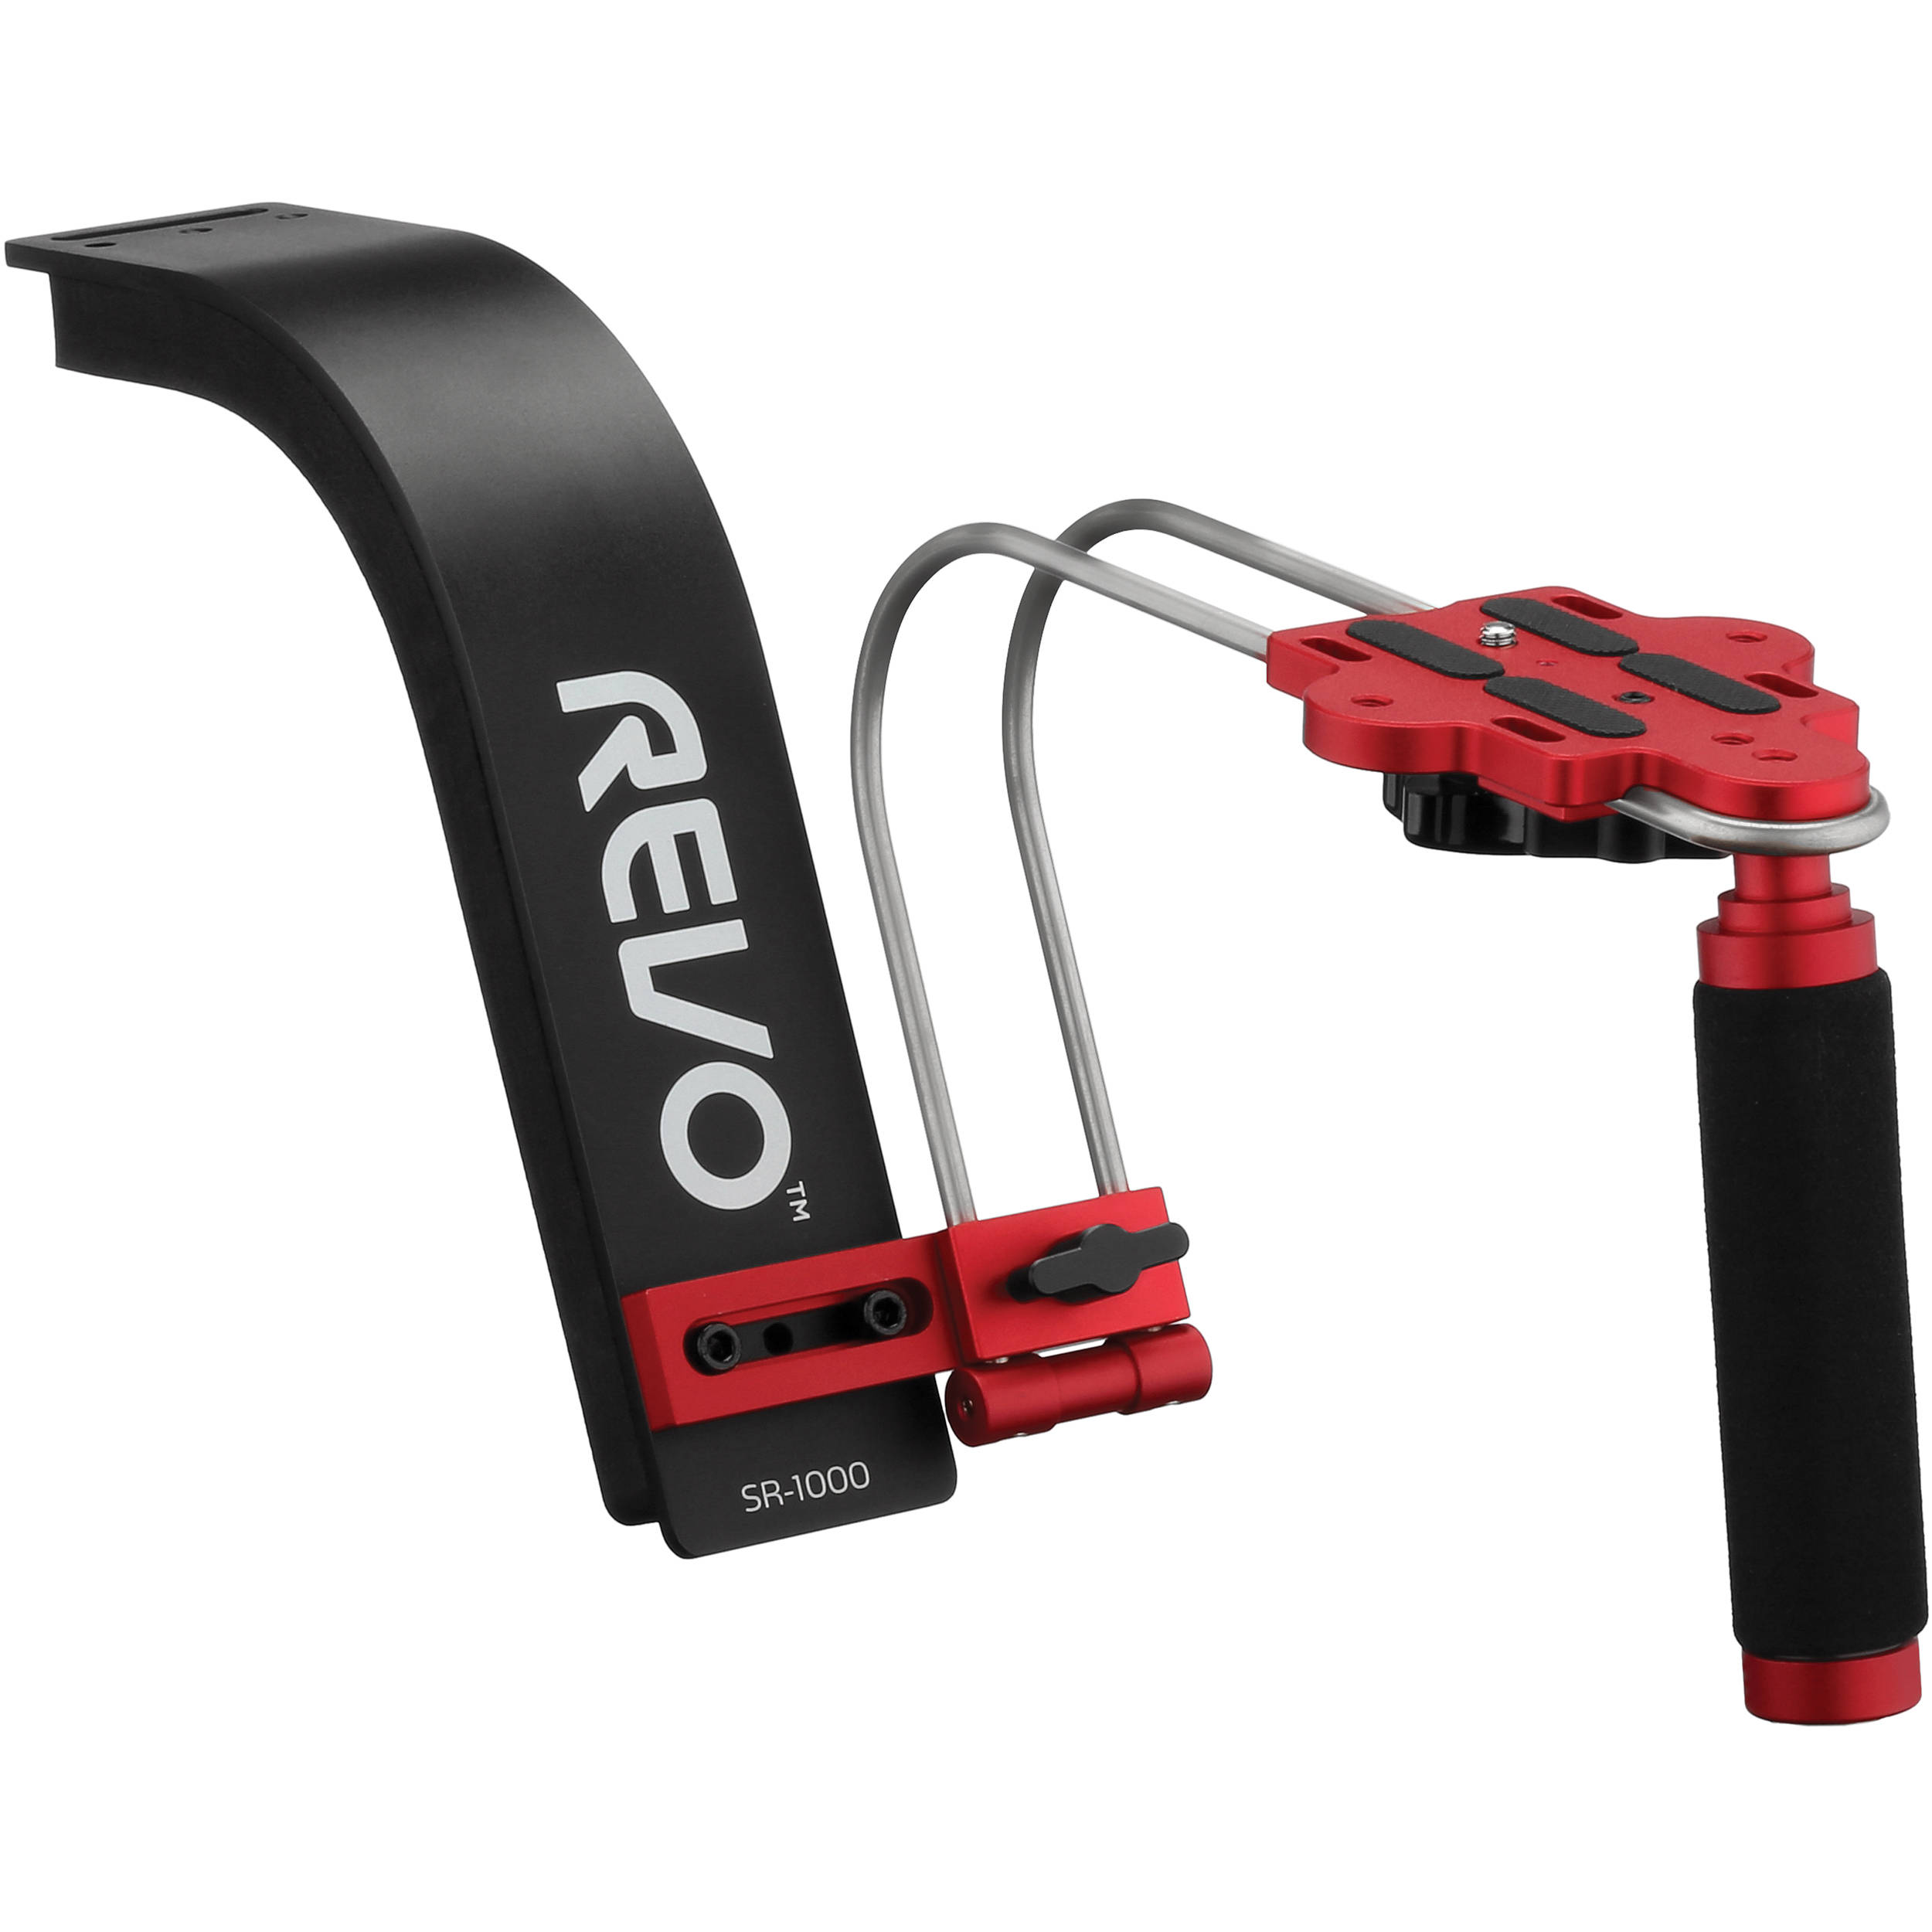
The shoulder rig also provided stable shots however, it was mainly used is camera movements. The shoulder rig provides fluid movement of the camera which makes the shots look more professional and not too much like a hand-held style.
|
tracking dolly |
Lighting kit |

The tracking dolly was used to film camera movements with the utmost stability getting clear fixed camera shots. It was mainly used to film panning and tracking shots.
|

The lighting kit was used to provide the perfect amount of lighting for the different shots that we used in our trailer. Using the lighting kit with different angles and at different levels can provide different feels to the environment.
|
Different angles of lighting provide different effects due to the shadows and highlights which gives many 'faces' depending on the angle. Certain lighting angles will be used in the images taken for the magazine and poster.
camera sessions
For the sections of my task are the videos that I produced on various camera movements and shots for experience when actually filming my trailer. It was also done to see what kind of shots we would to put into our trailer.
Camera Diary Session 1
Techniques explored:
|
In this camera session, I covered all the camera shots to help myself gain more experience using the camera so that when we actually film the trailer, it will be an easier process to film and also pick and choose different shots for different reasons.
|

Extreme long shot |

close up |

mid shot |

Extreme close upexamples |
Camera Diary Session 2
Techniques exploreD:
Examplestwo shot
|
In the second camera session, we tested various camera angles which was also previously explored in the first year of media. This was quite a helpful session as we will be using lots of wide angles in our trailer making it easier to film as we have more experience.

over the shoulder shot |

worms eye view |

low angle shot |

Birds eye view |
Camera diary session 3
Techniques Explored:
|
In the final camera session, we had to go over the camera movements which are shown above in the video. This session involved camera equipment usage such as the shoulder rig, tracking equipment and tripod to get the perfect shots.
Examples |

Zooming |

tilting shot |
hand held |

panning |

tracking |
Evaluation
For this task, I feel like I have learnt how to properly use a camera and create all the different shots and movements to an average quality. This will help me when it comes to filming our trailer as different shots will be used to create different effects.
